Oct 21, 2026 Choose Guiding
Dark Rooms? Place Your Divider Around Natural Light
Choose room dividers that define space without needlessly blocking daylight. Explore screen placement, open panels, folding options, and privacy trade-offs.
Dark Rooms? Place Your Divider Around Natural Light
Room dividers can give an open room clearer boundaries, but the wrong position can leave one side feeling dark. Before choosing a pattern or finish, look at where daylight enters and which areas depend on light from the same window.
A divider does not create additional natural light. Thoughtful placement can reduce unnecessary obstruction while giving a desk, dining area, or entrance its own identity.
The goal is to divide activities without automatically dividing the room into a bright half and a dark half.
Start with the Window, Not the Divider
Walk through the room at different times of day. Notice which surfaces receive daylight, where glare appears, and which corners already need electric lighting.
The U.S. Department of Energy’s daylighting and interior design guidance explains that using daylight effectively involves both windows and the arrangement of the interior.
Before positioning dividers, identify:
- The main sources of daylight.
- Areas that rely on light passing through the room.
- Tasks that need clear, comfortable visibility.
- Doorways, circulation routes, and window access.
- Places where direct sun causes glare.
A home office and a reading corner may need different arrangements, even within the same room.
With or Without a Room Divider: What Changes?
Without a screen, an open room offers uninterrupted views and fewer internal obstructions. However, the workspace, dining area, and lounge may feel visually mixed.
Adding a room divider screen can establish a boundary and partially screen an activity. It also introduces a surface that blocks, filters, or redirects some light.
Layout | Main benefit | Trade-off to review |
|---|---|---|
No divider | Open views and connected space | Limited visual separation |
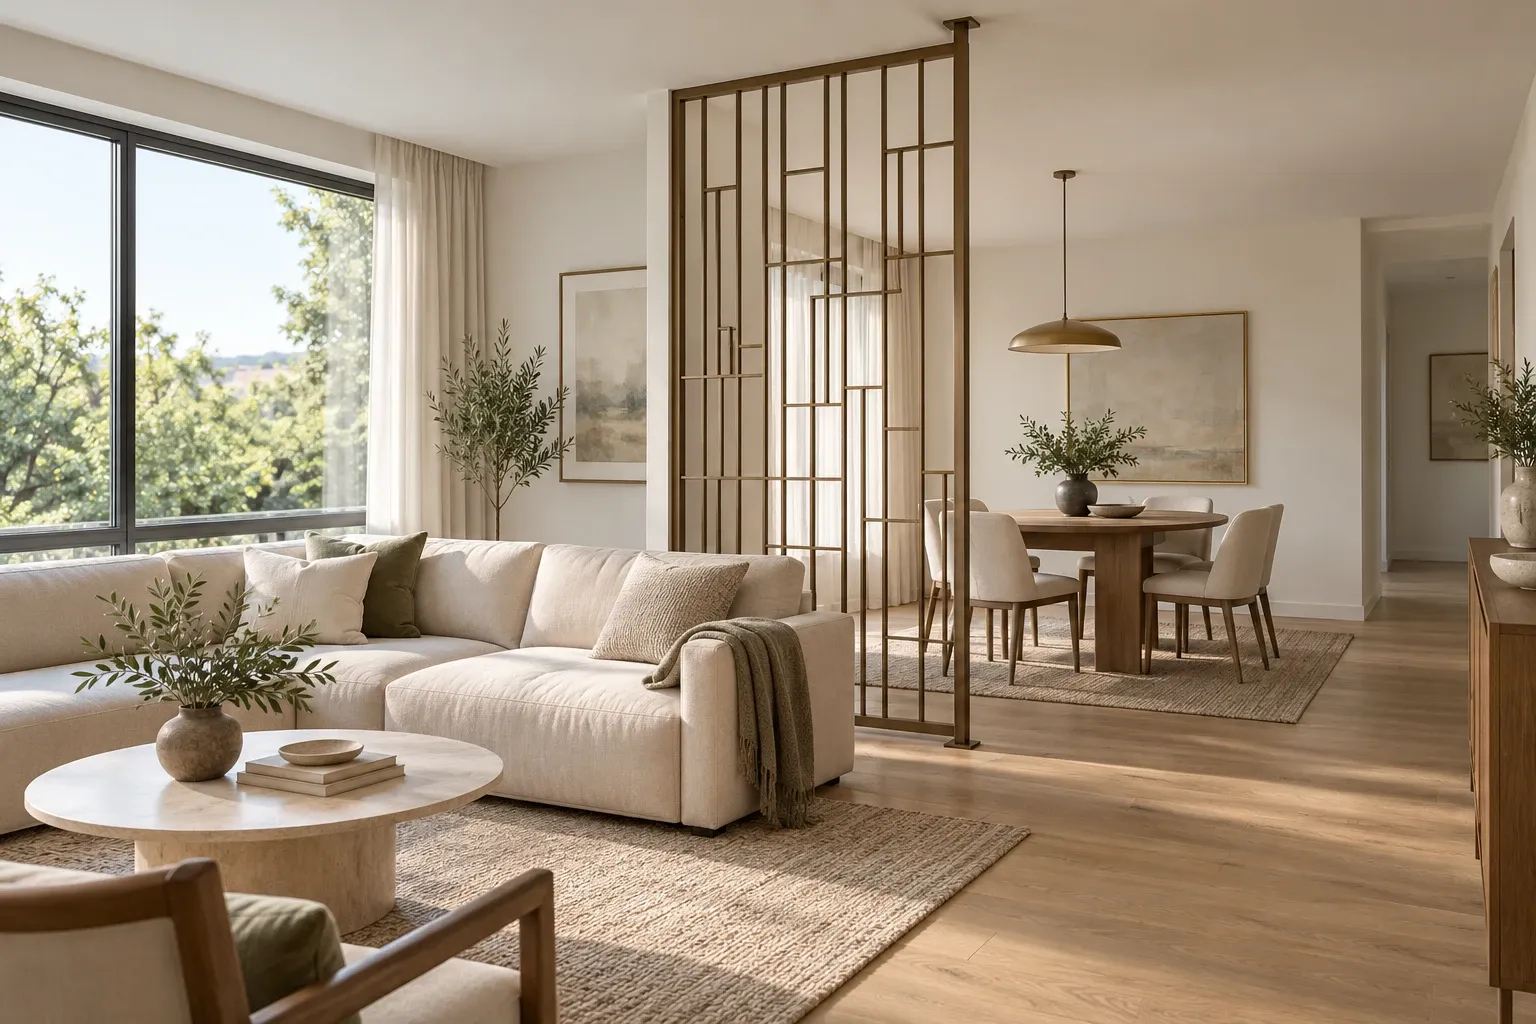
Open-pattern screen | Zoning with views through the pattern | Partial screening and some light obstruction |
Solid panel | Stronger visual privacy | Greater potential to shade the area beyond |
Movable screen | Adjustable placement | Stability and storage requirements |
The right comparison is about how the room functions. An attractive screen should not be assumed to improve daylight levels.
Place the Divider Beside the Light Path
Test a Position Perpendicular to the Window Wall
In some layouts, a screen positioned perpendicular to the window wall can define zones without spanning the entire route from the window into the room.
For example, place a partial screen beside a desk rather than directly across the glazing. Both areas may retain a relationship with the window.
This is a starting point, not a universal rule. Window size, room depth, screen height, and surrounding furniture all affect the result.
Avoid Blocking the Only Window
A tall, opaque wall divider across a room with one window can leave the inner zone dependent on borrowed light or artificial lighting.
If privacy requires that arrangement, consider whether a shorter panel, adjustable curtain, or different furniture layout would suit the space better.
Keep access to window handles, blinds, ventilation openings, and cleaning areas.
Use Only as Much Width as You Need
A room screen divider does not always need to reach from wall to wall.
A partial-width panel may hide a desk from the sofa while leaving a clear passage beside it. Mark the proposed footprint on the floor before buying, then check the layout with chairs pulled out and doors open.
Choose Room Divider Panels for Light and Privacy
Open Patterns Preserve Some Views
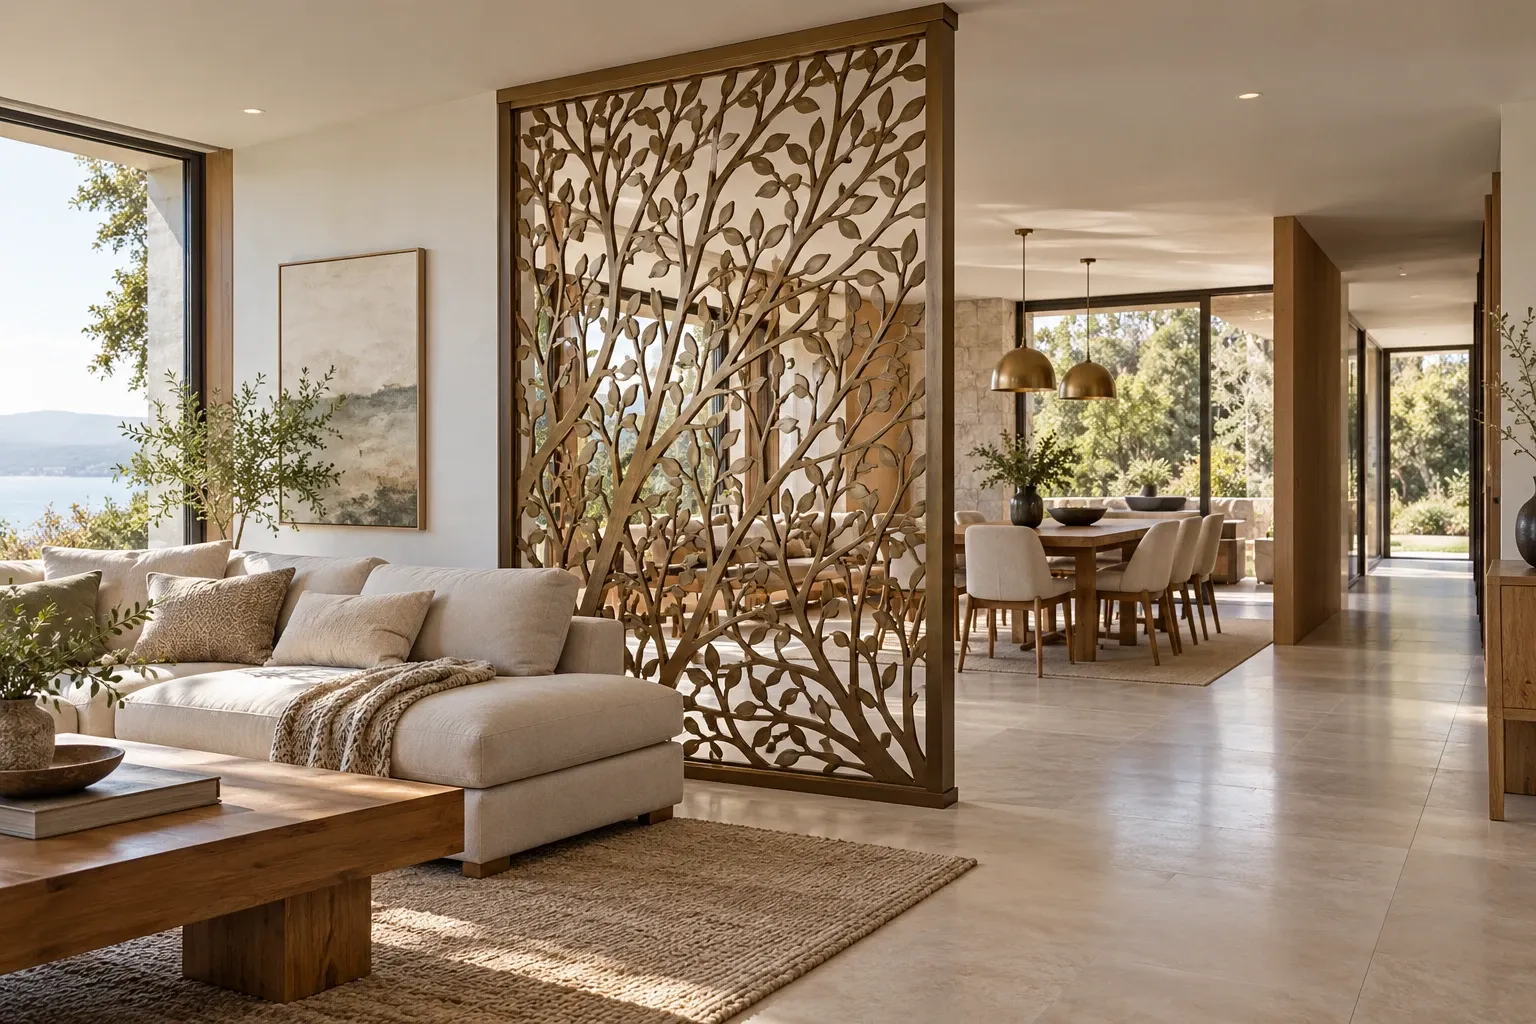
Decorative metal room divider panels can introduce a boundary while retaining openings through the design.
Compare the pattern at the actual scale. A small product image may make a dense screen appear more open than it will feel in the room.
A screen room divider with large openings offers less visual privacy than a solid panel. Review the view from seated and standing positions on both sides.
Height Matters Alongside Pattern
A lower screen can define a seating or dining area while leaving space above it open. A taller room divider wall creates a stronger boundary but has a greater effect on views and daylight distribution.
Do not choose height from a photograph alone. Relate it to the ceiling, furniture, window position, and privacy requirement.
Reflective Finishes Need Careful Review
Pale surrounding surfaces can help a room feel lighter. A polished metal screen, however, may introduce distracting reflections rather than comfortable brightness.
Review finish samples under the room’s daylight and evening lighting. Satin or brushed finishes may suit some settings, but the choice depends on the design and viewing angles.
Try a Folding Room Divider Before a Fixed Installation
A folding room divider can help you explore zoning without committing immediately to permanent work.
Move it between proposed positions and observe the effect on the desk, seating area, and circulation. Check the darker side as carefully as the brighter side.
Check the Open Footprint
A folding screen room divider needs space for its angled panels. Its overall footprint can be larger than the straight-line width shown in a product listing.
Follow the manufacturer’s instructions for the opening position and support. A foldable room divider should not be placed where passing people or moving furniture can easily knock it.
Consider Weight and Storage
Folding room dividers vary in weight and construction. Some are convenient to reposition; others require more effort or assistance.
For portable room dividers, check:
- Weight and carrying arrangements.
- Folded dimensions.
- Hinge movement and pinch points.
- Recommended standing position.
- Suitable storage space.
Portability should support daily use rather than create another obstacle.
Comparing an IKEA Room Divider with a Custom Screen
Someone searching for an “IKEA room divider” may be exploring ready-made sizes, materials, and prices. Others searching for “IKEA room screen dividers” may want a portable option for a rental or temporary layout.
Compare the same practical details across suppliers: dimensions, construction, support requirements, openness, and intended use. Availability and specifications vary by product and market.
A custom screen may be worth discussing when the opening, pattern, finish, or fixing conditions need a specific solution. Ready-made options may suit a layout where standard dimensions work.
The decision should follow the room’s requirements, rather than the brand name alone.
Room Divider Ideas for Common Layouts
A Desk Beside the Window
Position a screen beside the work area to reduce views of equipment from the lounge. Avoid surrounding the desk so completely that the screen blocks its window access.
Check reflections on the monitor before approving the layout.
A Living and Dining Room
Use room divider screens near the transition between activities. Coordinate the screen with rugs or lighting so a full-width partition is not automatically necessary.
Keep enough room for dining chairs and normal movement.
An Entrance Opening into the Lounge
A partial screen can interrupt the direct view from the door toward the sofa. Keep the entrance welcoming and preserve a clear route into the home.
Review the effect from outside the doorway as well as from within the room.
Wall Dividers Are Not Automatically Acoustic Barriers
The terms “divider wall” and “room divider wall” can describe very different products.
An open decorative screen mainly separates views. It should not be treated as a soundproof wall. If confidential conversations or substantial sound isolation matter, discuss a purpose-designed partition system.
Likewise, a decorative screen does not automatically provide the performance of an enclosed room.
Check the Layout Before Ordering
Use this checklist for fixed screens and movable wall dividers:
- Observe daylight at several times of day.
- Mark the proposed panel footprint.
- Check both sides from normal viewing positions.
- Preserve door movement and comfortable circulation.
- Confirm dimensions, weight, and support requirements.
- Review the pattern and finish at a useful scale.
- Plan lighting for areas that remain dim.
For fixed panels, confirm the supporting surfaces and installation method before fabrication. For room dividers with hinges or movable sections, check their operating space.
Divide Activities Without Losing Sight of Daylight
Successful room dividers start with the room’s existing conditions. Window location, panel height, pattern density, and furniture placement all influence the result.
Use a folding screen to test an idea, a partial panel to define a boundary, or an open metal design to create an architectural feature. Accept the privacy and light trade-offs rather than expecting one product to solve every problem.
Planning a custom metal screen? Discuss your room divider layout with Kaiyubang, sharing room photographs, window positions, dimensions, and the activities you want to separate.